Showing posts with label tutorial. Show all posts

Friday, 28 February 2014

Romantic pincushion in a tin

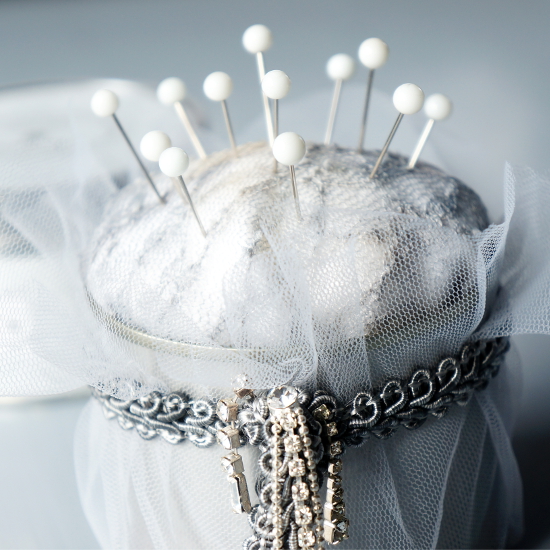
This is an easy no-sew, no-glue pincushion for keeping needles and pins or displaying a vintage hat pin collection. A simple tin gets a romantic transformation with some lace, tulle and bling jewellery.

Romantic pincushion in a tin {tettidesign}


Materials and tools needed for the project: scissors, small empty tin, fabric and tulle scraps, ribbons, filling, vintage jewellery pieces or beads, rhinestones, etc.

Romantic pincushion in a tin {tettidesign}


Making process:
  1. Cut a round piece of fabric with a diameter at least twice the size of the tin. (I used lace and a second thicker fabric underneath.)
  2. Put some filling in the middle of the fabric, gather the edges and tie with a ribbon or thread. Tuck it into the tin with the tied side downwards.
  3. Cut a round piece of tulle and put the tin in the middle of this piece. Gather the edges and put a ribbon around it. Arrange the tulle or cut the edges smoother, if necessary.
  4. Stick some bling jewellery pieces into the ribbon knot. VoilĂ !

Romantic pincushion in a tin {tettidesign}

Sunday, 10 February 2013

Small and easy gift box

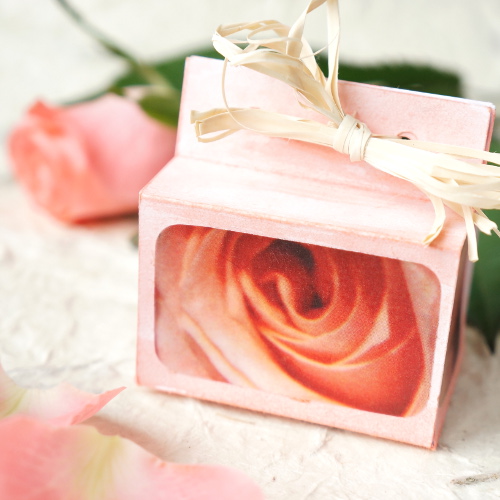
This is a quick box shaped solution for wrapping small gifts. The box can be completed in minutes, but it is totally acceptable to spend many hours adding the creative finishing touches.

Paper gift box with a free template


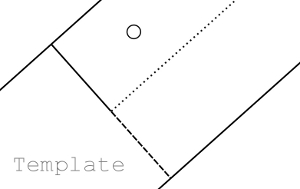
The size of the completed box will be approximately 6x4x4 cm, when printed on a full A4 or Letter size page. Click on the picture to open the template in .png format:

Free printable gift box template


The printed template can be glued onto heavier paper or cardboard before cutting and folding, leaving it to the inner side of the box. Alternatively, it can be used only for drawing the lines onto decorative paper or cardboard.

Tip for folding: use a ruler or the edge of the table to get a straight folding line. Smooth and finish the folded edge using something like scissor handles.

Paper gift box with a free template


The outside of the box can be decorated with paper, fabric, buttons, flowers, embellishments, drawings... anything you like.

Paper gift box with a free template


Punch holes where indicated, gather the punched top edges starting with the smaller box sides, and complete with a ribbon. Don't forget to add the gift before that!

This box is also on CraftGawker.


Wednesday, 8 June 2011

Make a knitting chart marker

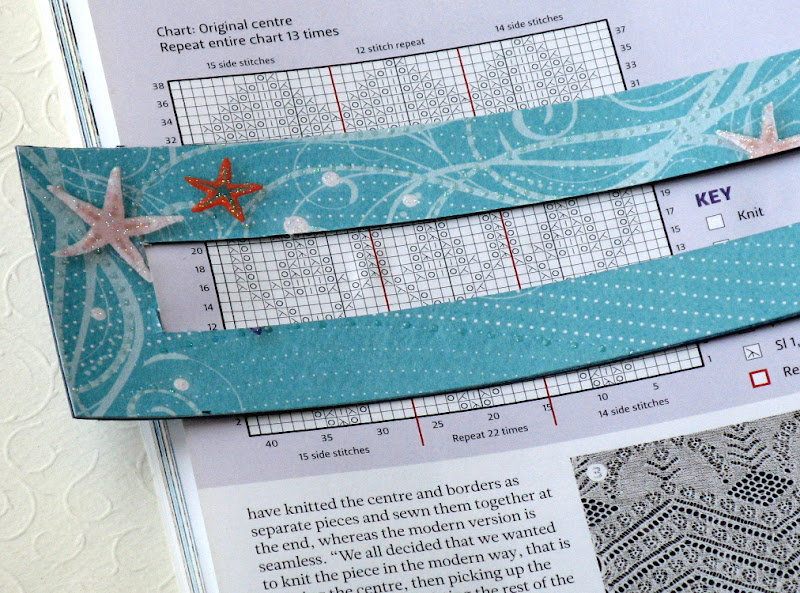
To make it easier to follow knitting charts or text lines in a pattern, you can make a simple marker out of cardboard. It is best to have the marker in a modest solid colour, but who says the other side cannot be as colourful as you like!

Knitting pattern chart marker


You will need:
  • piece of cardboard
  • decorative paper (optional)
  • pencil
  • eraser
  • ruler
  • craft knife or scissors
  • glue (optional)

Colourful papers


Cut out a piece of cardboard measuring approximately 6 x 21 cm. If you would like to style it up, cut a piece of decorative paper in the same size. Glue these together and leave to dry under weight (e.g. a pile of knitting magazines).

Chart marker layout


Mark a distance of 2 cm from one end of the cardboard piece. Then mark four horizontal lines at 2 cm and 2.5 cm from each long side. Cut along these four lines until the vertical end line and the ends of the narrow straps. Place some cardboard leftovers under the chart marker, if you are using a knife. Erase marked lines if necessary. And done!

This chart marker is about the width of a standard magazine.
Of course, you can make it any size that seems convenient to use.